Managing Customers
Adding A New Customer
- Go to the Customers page from the top navigation menu.
- Click the + icon in the left sidebar.
- Fill out the customer information and click SAVE.
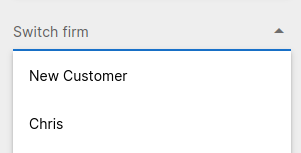
Your new customer will now be added to the platform and will appear in the drop-down of customers.
Once created, use the icon to edit any customer information or delete the firm.
Adding API Identifiers
- On the Customers page with the correct customer selected.
- Open the “Identifiers” tab to view the current set of identifiers, switching Protocol if necessary.
- Click ADD IDENTIFIER to add a new identifier, adding an optional nickname if it helps to locate them.
- Populate the row that appears, and click SAVE CHANGES.
💡 Automatic Revalidation
While we always recommend setting up client identifiers in advance, declaring an identifier after the customer has already sent API traffic will automatically link that historic data to the new identifier, and re-evaluate it.
Once created, use the icon to edit or delete the identifier.
Enabling Services For Customers
- On the Customers page with the correct customer selected.
- Open the “Service Access” tab to view the current set of service entitlements by Protocol. Services with a green dot are enabled. Services with a white dot are disabled.
- Use the icon to enable the service.
By default, customers are allocated to the default spec version and target identifier defined for the service, and we’ll accept any configured identifier. You can fine-tune this by clicking the icon and selecting “Edit Details”.
In rare edge cases, firms sometimes wish to configure multiple customer identifiers to a single service. Once the service has been enabled, this can be achieved using “Add Row” within the sub-menu.
Starting A Certification
See this page.